If you've been looking for a simple, free text-to-speech service but couldn't find one, keep reading. You're about to get it: build a completely free, unlimited character, text-to-speech service supporting hundreds of languages and voices (powered by Microsoft's free TTS service) on your own computer.
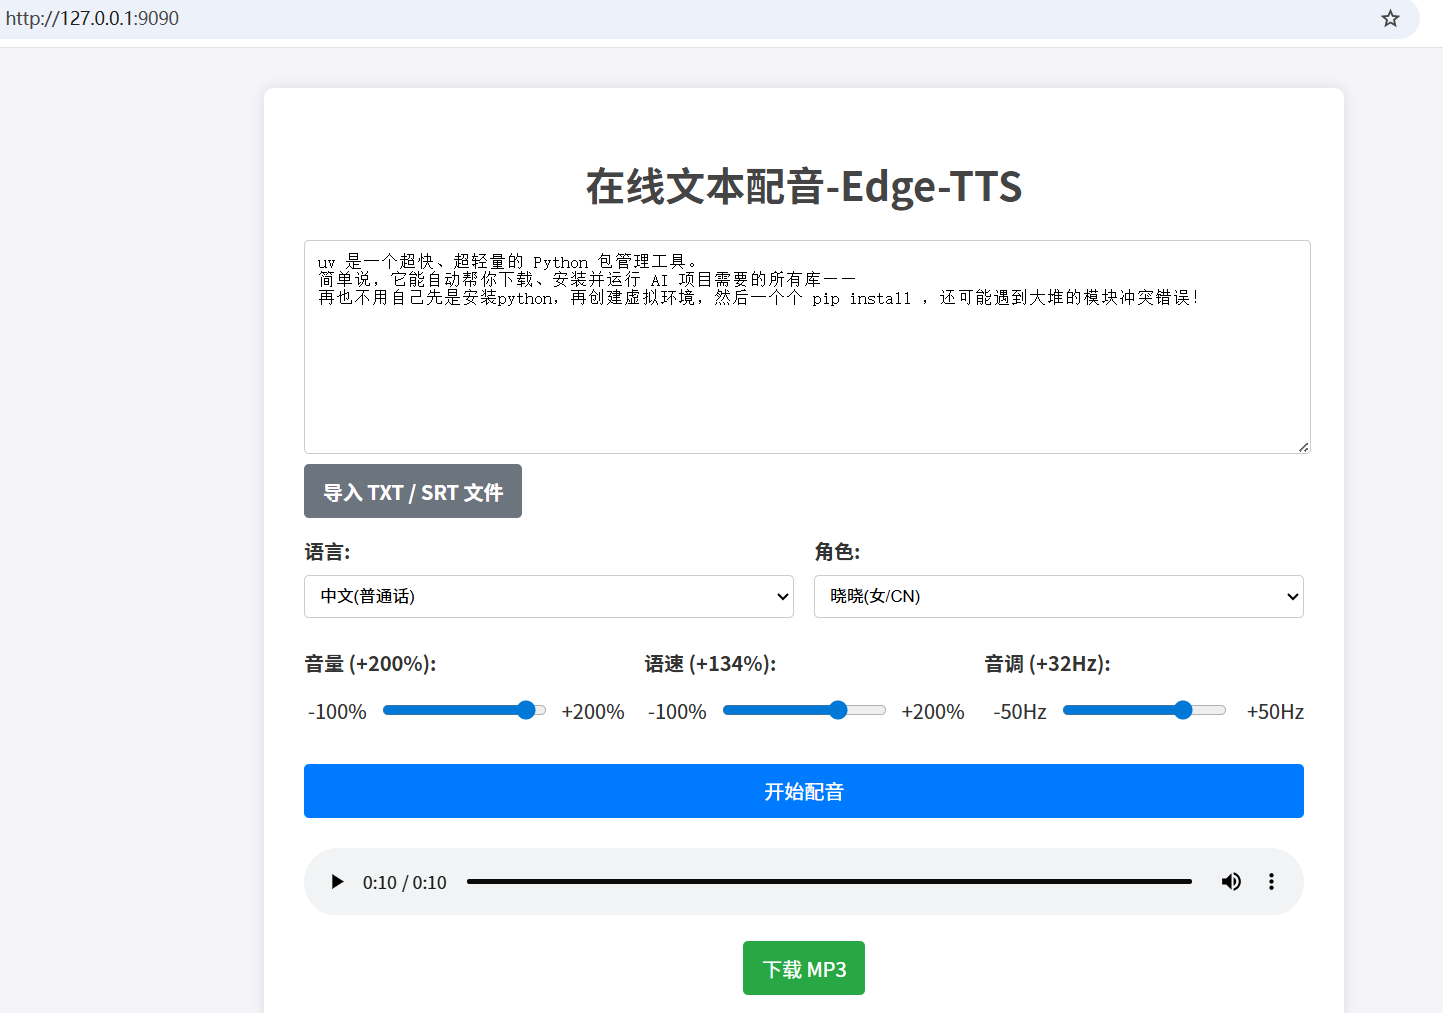
Look, here is its clean and intuitive interface, with all functions clear at a glance:
Step 1: Prepare the "Toolbox"
Before we start, we need to prepare two "tools": uv and the TTS service code.
1. Download uv
uv helps us automatically configure and run all the dependencies needed for the project, saving us from complex Python environment setup. With it, everything becomes simple!
Download
uv: Visit this link to download the Windows version compressed package:https://github.com/astral-sh/uv/releases/download/0.9.8/uv-x86_64-pc-windows-msvc.zipExtract the files: Extract the downloaded
uv-x86_64-pc-windows-msvc.zipfile. You'll get 3.exefiles, the most important one beinguv.exe.Place
uv.exe: We need to put these files in a special location so you can use theuvcommand directly from any folder.Open any folder on your computer.
Clear the address bar at the top of the folder, then paste and enter
%userprofile%\.local\bin.Press Enter. The system will automatically open a hidden folder named
bin.
Copy the 3
.exefiles you just extracted (includinguv.exe) into thisbinfolder.
2. Download the "Core Files" for the TTS Service (Only 13kb!)
I've already packaged all the necessary files for you. You just need to download and extract them to a place you can easily find (like creating a new folder on the desktop or the root directory of the D drive, etc.).
Download link:
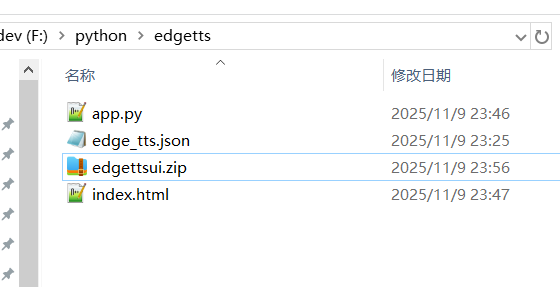
https://pyvideotrans.com/edgettsui.zipExtract the files: After extraction, you will see the following 3 files:
app.py: This is the "brain" of our TTS service, responsible for handling the speech synthesis logic.index.html: This is the service's "operation interface", the webpage you see in your browser.edge_tts.json: This is a thick "voice menu" that defines all available languages and voice options.
Please make sure these three "parts" are all in the same folder, neatly placed like this:
Step 2: Start the Service!
Now, it's time to bring your TTS service to life!
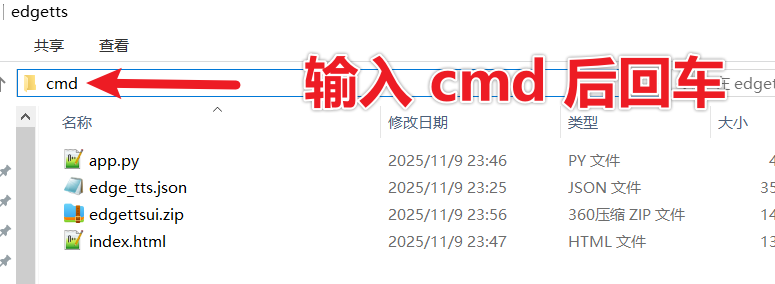
Open the Command Line Window:
- Navigate to the folder where you stored those 3 core files.
- Clear the address bar of this folder, type
cmd, and press Enter. - A black Command Prompt window (also called CMD) will pop up, and it has automatically navigated to your current folder.
Enter the Startup Command:
Confirm that the path displayed in the black window is where your code files are located. Then, at the cursor, type our only "startup command" and press Enter:
uv run app.py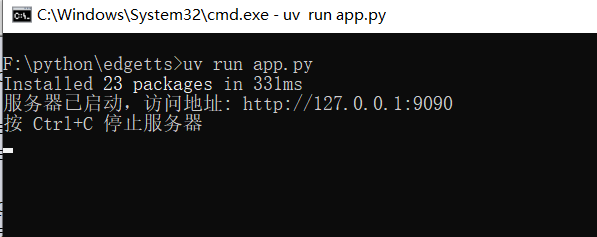
When the black window displays messages like "Server started...", your default browser will automatically open a page!
The first startup will be slightly slower (it may take tens of seconds or even longer) because
uvwill automatically download and configure the environment needed to runapp.py. Please be patient.
Congratulations! Your private TTS service is now successfully running on your computer!
Step 3: How to Use Your TTS Tool?
This TTS interface is designed to be very simple and intuitive; you'll get it at a glance:
- Text Box: Input or paste the text you want to convert into speech here. If you have long text or subtitle files, you can also click the "Import TXT / SRT File" button to load them directly.
- Language and Voice:
- First, select your desired language on the left (e.g., "Chinese Mandarin").
- Then, in the dropdown menu on the right, choose your preferred voice character (there are male and female voices with various tones; there's one for you!).
- Volume, Speed, Pitch: Drag these sliders like a sound engineer to adjust to your favorite pronunciation effect.
- Start TTS: Click this big button, wait a moment, and the generated audio will appear with a player below and start playing automatically.
- If you are satisfied, you can also click the "Download MP3" button to save this speech to your local drive for later use.
The most considerate feature is that it automatically remembers your last selected language, voice, and slider settings. The next time you open it, it will be your most familiar configuration without needing to reset!
What if %userprofile%.local\bin is not in the Environment Variables?
Click the "Start Menu" in the lower left corner, find "Command Prompt", right-click --> More ---> Run as administrator, paste this command, press Enter to execute.
reg add "HKCU\Environment" /v Path /t REG_EXPAND_SZ /d "%PATH%;%USERPROFILE%.local\bin" /f
Frequently Asked Questions
Q: How do I close this service? A: Go back to that black Command Prompt window and press the
Ctrl + Ckey combination on your keyboard (hold downCtrlandCkeys simultaneously). The service will stop.Q: What if I get an error saying
uvis not a valid command when running the command? A: This meansuv.exeis not correctly recognized by the system. Please go back to the top of the article and re-check the "1. Installuv" section in "Step 1: Prepare". Ensureuv.exehas been downloaded and correctly placed in the%userprofile%\.local\bindirectory.Q: After I close it, how do I open it again next time? A: You can repeat the operations in "Step 2": find the folder, open the
cmdwindow, and runuv run app.pyagain. If you find this a bit troublesome, you can create a quick launch file:In the folder where
app.pyis stored, create a new text document and name itstart.txt.Copy the code below and paste it into the
start.txtfile:@echo off call uv run app.py pauseSave and close
start.txt.
Change the file extension: Rename
start.txttostart.bat.If you can't see the
.txtsuffix: You need to first click theViewtab at the top of the folder, then check theFile name extensionsoption on the right. This will allow you to see and modify file extensions.
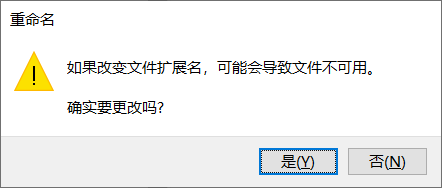
After the change, the system will prompt you that "Changing the file extension may make the file unusable." Click "Yes" to confirm.
In the future, you just need to double-click this
start.batfile, and the TTS service will start automatically!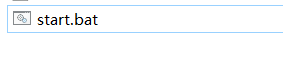
Alright, that's the end of the tutorial!
It's that simple. No complex environment configuration, no payment required, and you have a powerful, free text-to-speech tool.
Go try it out and let your text "speak"!